FYI: I earn a small commission from some links and advertisements.
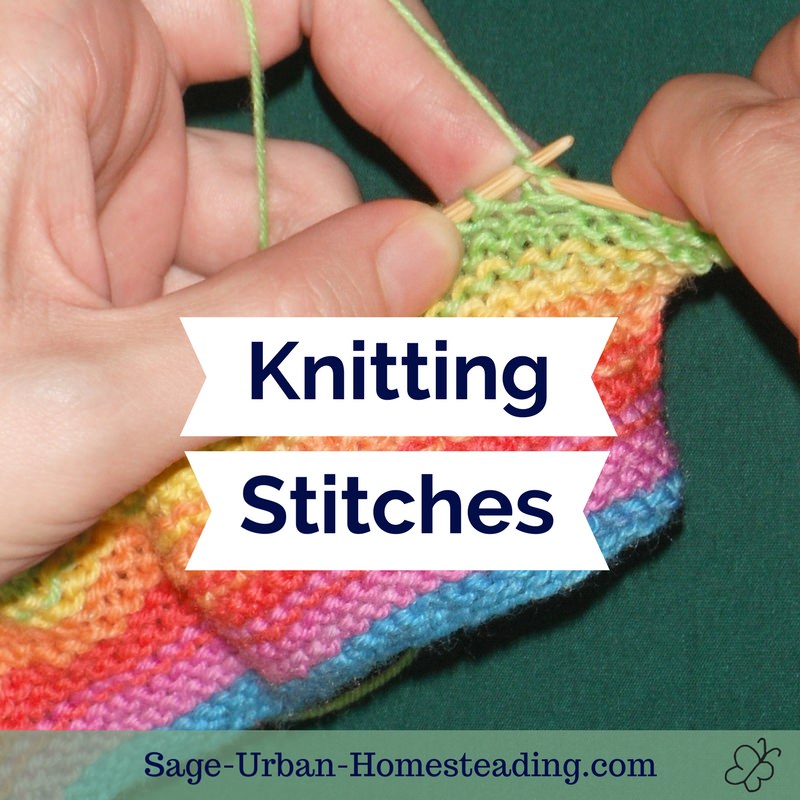
Knitting Stitches
There are only two basic knitting stitches, knit and purl. Advanced knitting patterns combine them in different ways. Start by casting on.
Start: Casting On
To start knitting, you need to cast on. This establishes a foundation on the carrying needle so you have something to knit onto.
The easiest method is to make a temporary crochet chain then insert the knitting needle into the bumps on the wrong side.
End: Binding Off
You can also bind off or stop knitting stitches with a crochet hook or preferably a Tunisian crochet hook. Simply do a line of crochet loops along the last row, removing each loop from the carrying needle and securing it.
Now go back and pull out the original chain you used to cast on. Use the exposed stitch loops to add a crochet or knit edge.
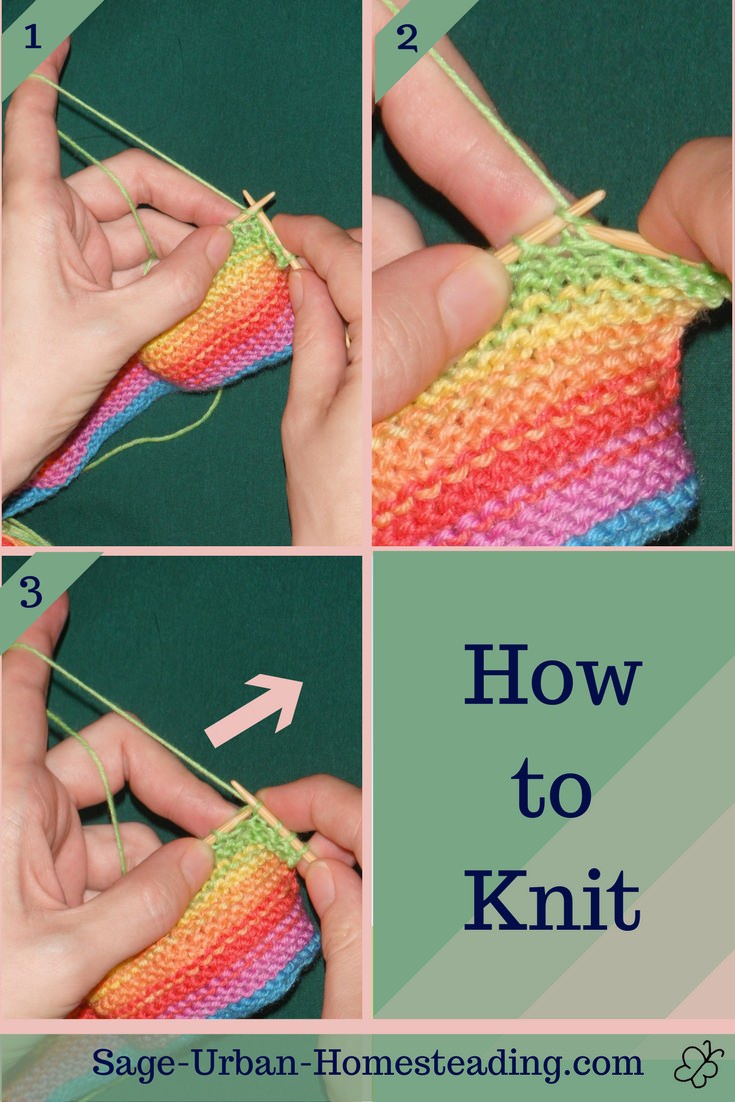
How to Knit
It really is easy! Knitting is part of the curriculum in Waldorf schools, and it's mentioned on the Sesame Street Old School DVDs.
- Have the working yarn on the back of the piece, and insert the working needle from front to back.
- Wrap the working yarn over the needle from left to right, counterclockwise.
- Pull the yarn through the old stitch loop to create a new stitch loop on the working needle while dropping the old loop off the carrying needle.
Knitting Rhyme
In through the front door,
Run around back,
Pop out the window,
Off jumps Jack.
This traditional rhyme can help you remember the steps.
You can increase and decrease the number of knitting stitches in a row using different methods. The knitting pattern should tell you which way to do it.
How to Purl
Purling is the opposite of knitting.
- Have the working yarn coming out the front of the piece towards you, and insert the working needle from back to front.
- Wrap the working yarn over the needle from left to right.
- Pull the yarn through the old stitch loop to create a new stitch loop on the working needle while dropping the old loop off the carrying needle.
Purl Rhyme
Under the fence,
Catch the sheep,
Back we come,
Off we leap.
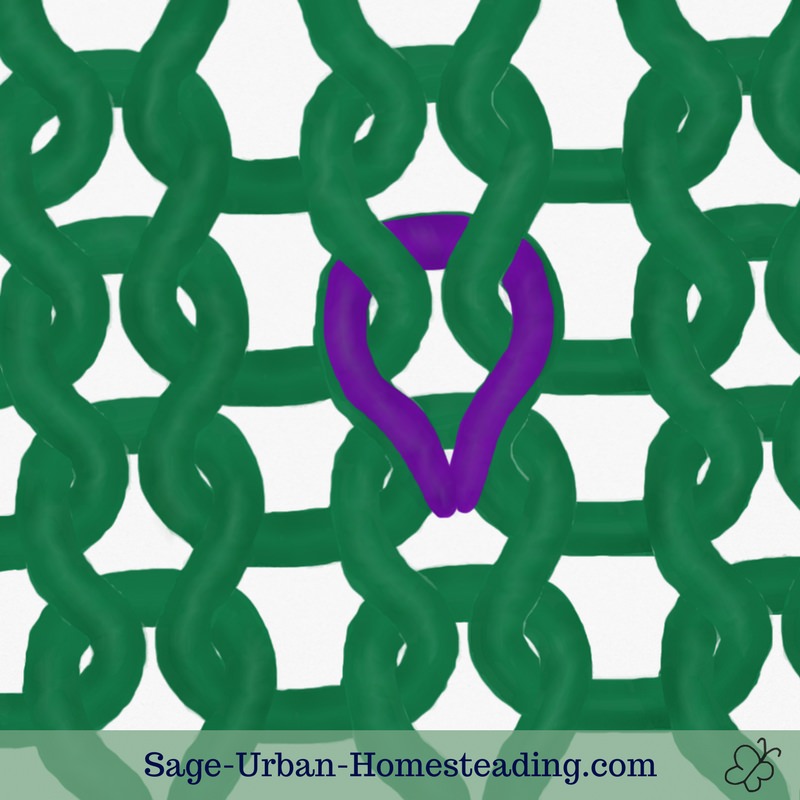
The knit stitch looks like a purl stitch when viewed from the wrong side. Likewise, the reverse side of a purl will look like a knit.
For a smooth knit on straight knitting needles, work alternating rows of knit and purl. If you alternate light and dark colors for each row, it creates a pattern known as shadow knitting.
A piece that appears entirely knit on one side and purl on the other is said to be done in stockinette stitch.
Variations
The knit and purl stitches are combined in various ways to create more complex designs.
- Garter stitch
- Work every row in knit (or every row in purl) on straight knitting needles, and it produces a textured surface on each side that looks like alternating rows of knit and purl.
- Knit ribbing
- Alternate knit and purl stitches within the row to create ribs. Continue the pattern by working the same stitch on top of what appears below.
- Designs
- The texture of the different stitches can also be used with block grid designs to create images.
- Duplicate stitch
- This is actually an embroidery technique designed for use on knitting.
Duplicate Stitch
With the duplicate stitch, you can easily add creative knitting embellishments to your knit projects. It blends in so smoothly, it looks like part of the knitting, but it's actually embroidery.
Your friends will think you're a master at juggling bobbins for color changes, but this stitch produces intricate colors and patterns without the tangles of the intarsia or stranding methods. It's our little secret!
Think of the duplicate stitch as tracing directly on top of knitting stitches. It can be used with any knitting pattern. It works best if you use a yarn of a similar weight to what you knitted with so that it covers well.
First, bring up the needle at the bottom point of the knit stitch to be worked. Then insert the needle under both loops of the knit stitch one row above to come around, and pull the yarn through.
Insert the needle back into the bottom point of the knit stitch you are covering and bring it out at the bottom point of the next stitch to continue embroidering.
When you are done, sew the ends into the area where you added color so they are secured and well hidden.
The duplicate stitch keeps the knitting more stretchy than using the typical crewel embroidery stitches on top. Since it blends in smoothly to become part of the knit stitches, it will receive less wear than standard surface embroidery.
To see an example, take a look at some knit baby booties I decorated like moccasins!
Kitchener Stitch
This is actually a way of seaming two pieces together. You use a needle to thread stitches together in such a way that it looks like a continuous row of stockinette stitch.
Fancy Knitting Stitches
Advanced knitters can also make knit cables and lace.
- Knitting cables
- Some stitches are passed to a special double-sided knitting needle with a hook, and then held and moved over to create a cable twist.
- Knitting lace
- Knit lace patterns are created by increasing and decreasing in a specified design.
I haven't tried much with the cable and lace knitting stitches yet. Have you?
